This tutorial briefly guides you in siple steps to store the room parameters.
- Step 0: Open the room editor and click on the “Select an existing or create a new one” combo box.
- Step 1: Select <Create Room>
- Step 2: Select a name to describe your room (“Title“) and the duration of the game (“Time in minutes“). The “Number of puzzles” field is helpful only when you display a progress bar to inform your players about their current progress on the game. Please use the value “0” on this field if you do not need this feature.
Houdini MC gives the ability to the game-masters to provide a predefined number of clues. The “Number of clues” field allows you to set this number. If you choose to offer an unlimited number of clues to your players, please add the value “0”. Fill in all the fields and press “Create“.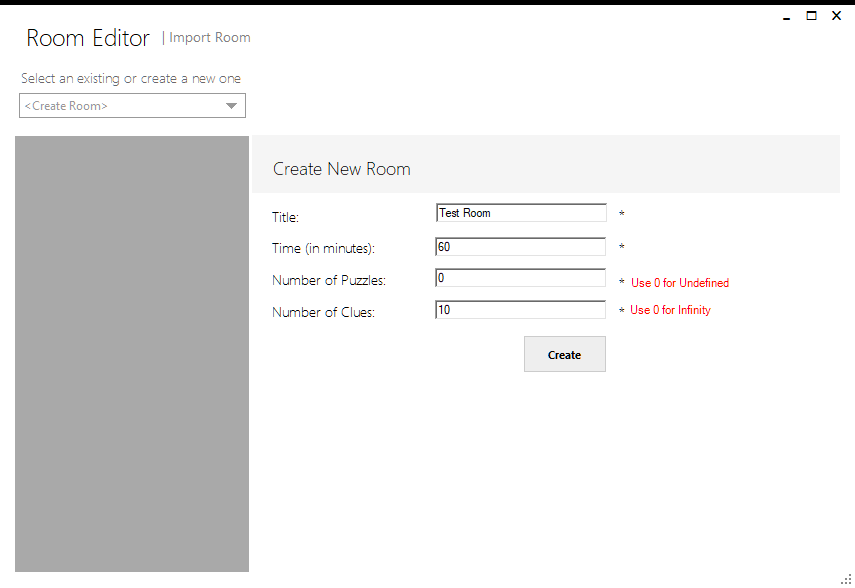
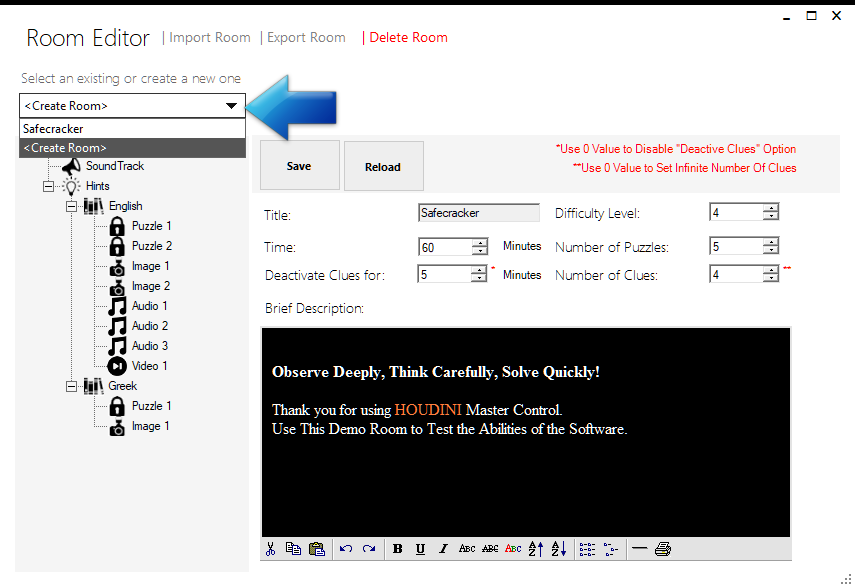
- Step 3: The new screen summarizes your choices. Moreover, the new form allows you to add a brief description of the room. This short text will be displayed on the in-room screen when the room is idle. Of course, you can leave this field empty.
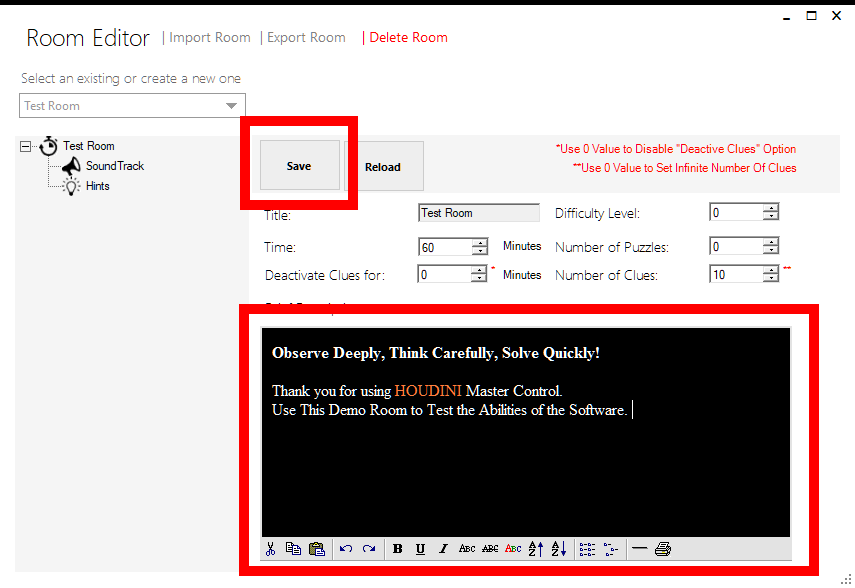
Make your changes and press “Save“. The following image illustrates a brief description on the in-room screen.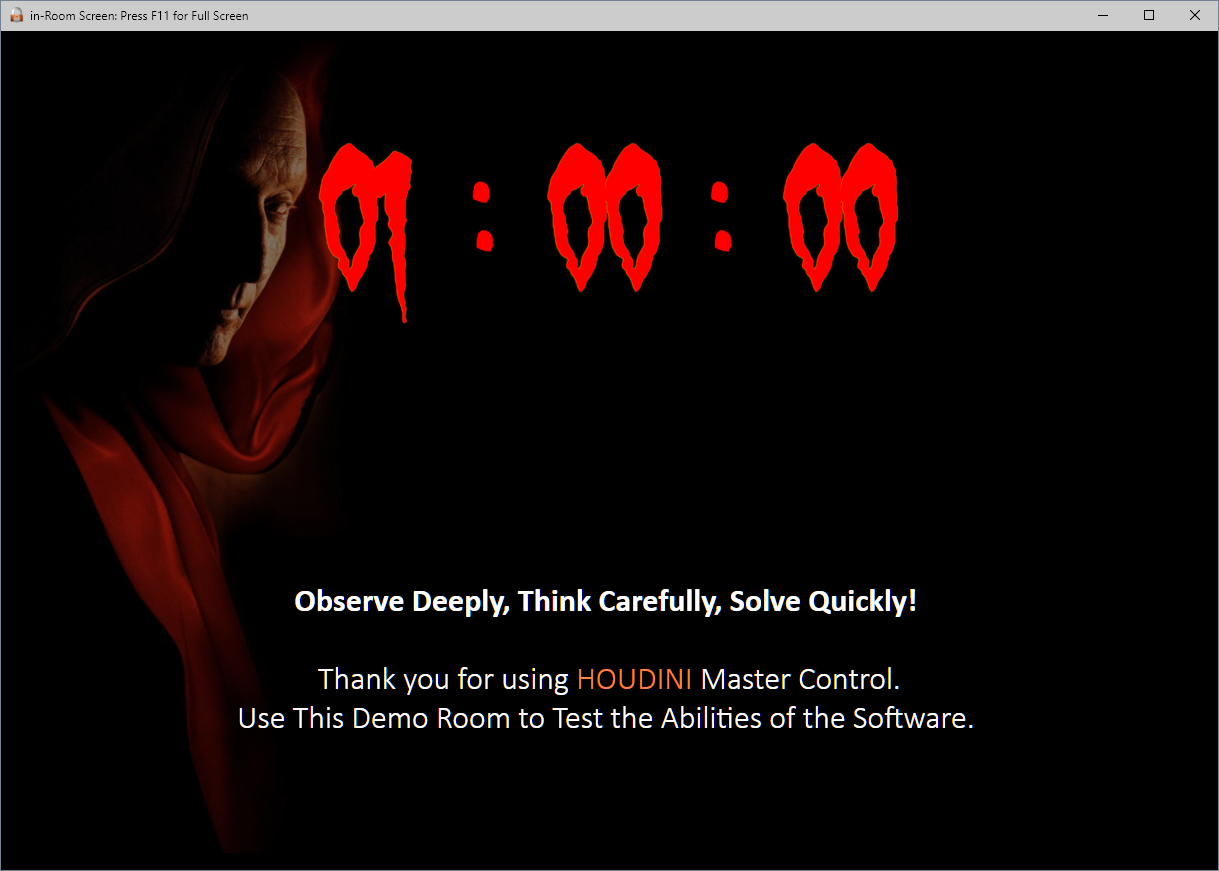
- Step 4: Click on “Soundtrack (Located on the left side of the form). Houdini MC supports three different sound categories:
1. Main theme – this sound starts automatically and plays in a loop while the game is active2. Additional sounds – The game-master can send these sounds during the game using the sound console
3. Alert tones.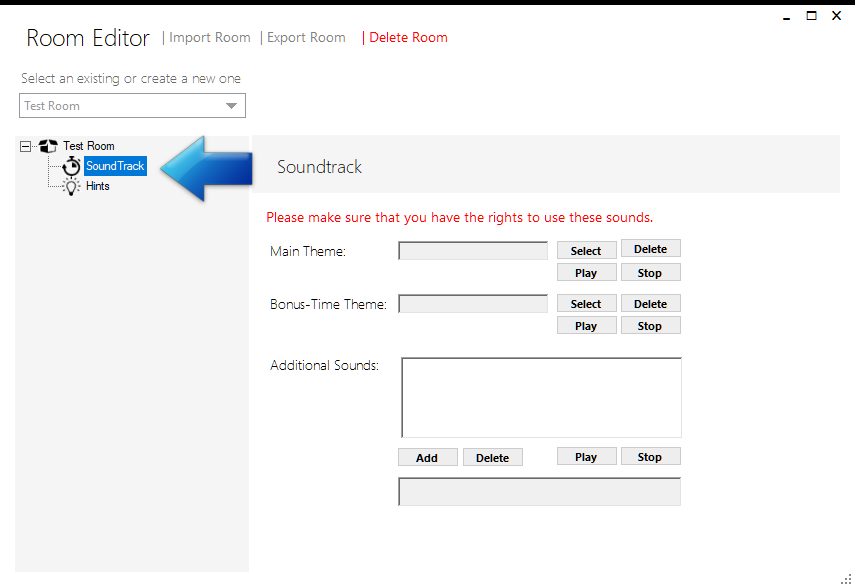
To add a sound source to each audio category, click “Select“. To delete the file, click on “Delete“. To preview a sound, simply click on “Play“. Houdini MC works with .mp3 files.
You may have noticed that another field called “Bonus Time Theme” is listed on the same form. Houdini MC allows you to gift your players some extra time after completing the duration of the game. To enable this feature go on Settings->General Settings and select the duration of the extra period. Using room-editor, you can set a different soundtrack for this period. -
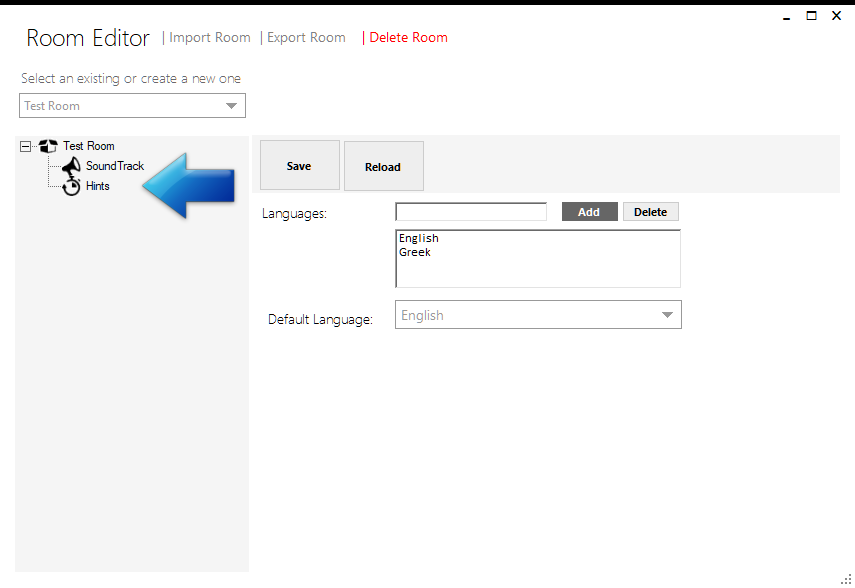
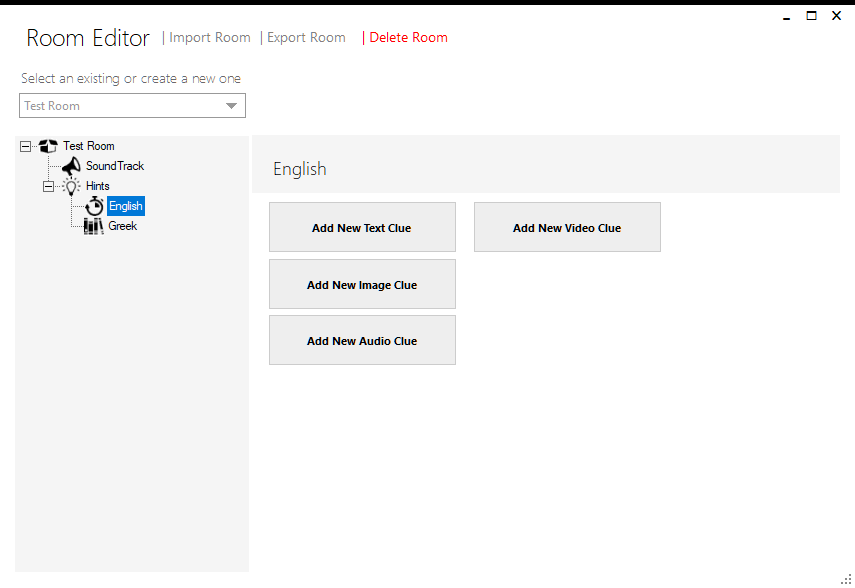
Step 5: Click on “Hints“. This form allows you to organize your clues in language packages. For this tutorial, we assume that our escape room will provide clues in 2 languages. English (the default language) and Greek. So, on the “Languages” field, type English, press “Add“, then type “Greek,” and press “Add again.” As the default language, please select “English”. Now press “Save“.
As you can see, the “Hints” branch now holds 2 sub-categories, one for each language.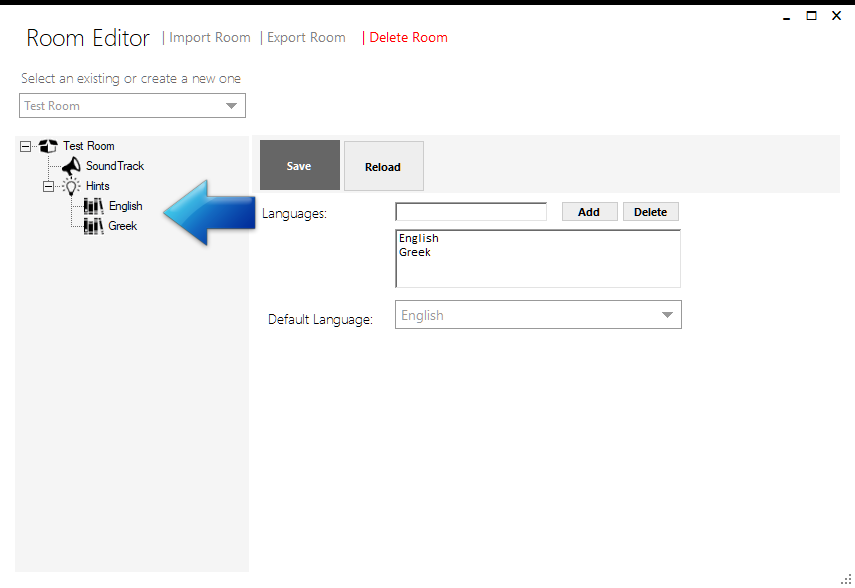
- Step 6: To start with, click on “English”. A form allows you to create: New Text Clue, New Image Clue, New Audio Clue, and New Video Clue.
- Step 7: Select to create a “New text clue”. On the left, under the “English” branch, a new link appears, listed as “New Puzzle 0“. Click on this to create your first text clue!
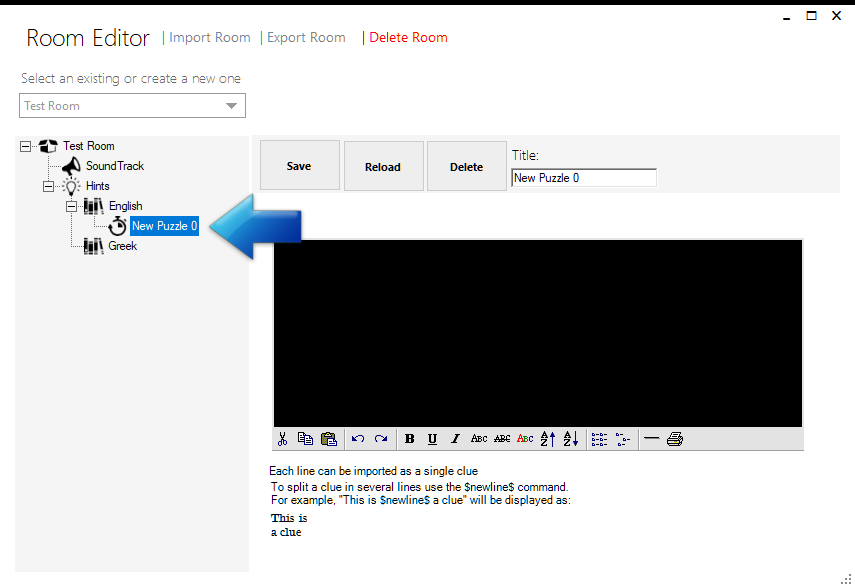
Use the text editor (“Text“) to add your text clues. Please note that each line can be used as a single clue. In other words, assume that this clue describes how to solve the first riddle of the game. Let’s assume that your players are seeking the word “GREEN” to solve Puzzle A. Initially, you want to help them by giving them an abstract phrase, e.g., “The answer is a color!“. But what if this clue is not helpful enough for your players? A second clue follows and informs them that “__ is the color Army privates wear“. The time passes, and your players are still fighting with the puzzle. So the next clue is the following: “The answer is GREEN“;).
Based on this scenario, three different clues describe the answer to a specific riddle. Include all these phrases on the same clue and name the clue based on the puzzle. So, as the title, type “Puzzle A” and add all the phrases (one per line) as “Text”.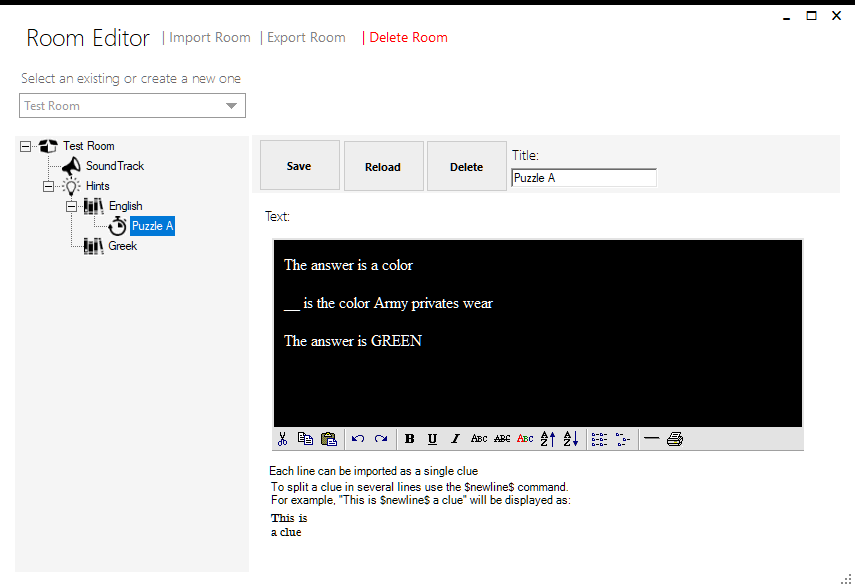
During the game, the game master selects the language, chooses the puzzle, and all these three sentences appear. The game master decides on the most appropriate clue based on the players’ progress.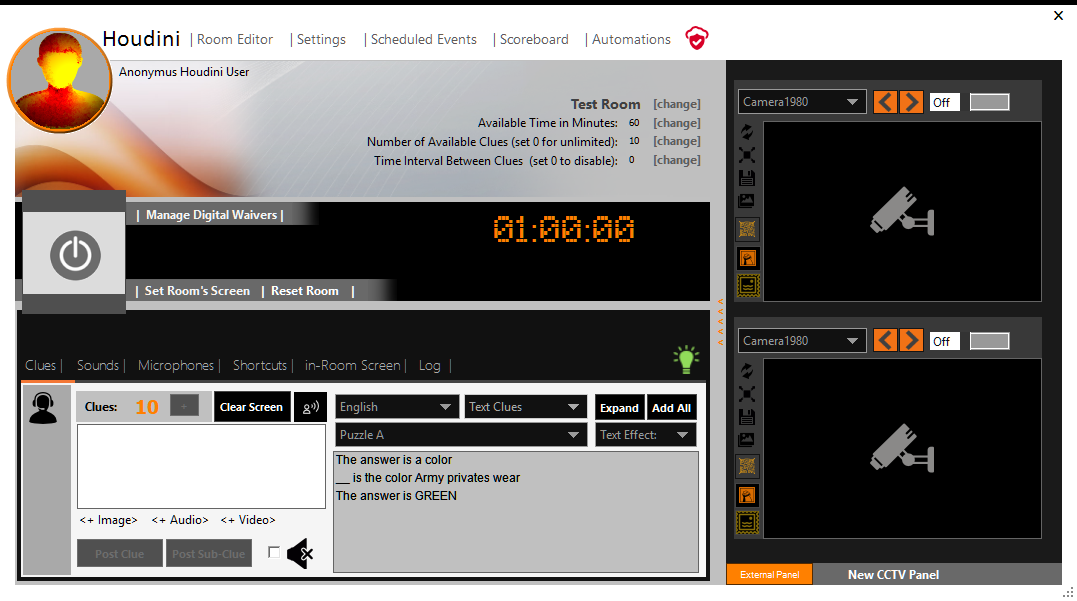
To conclude, each line can be used as a single clue. But what if we want to set a multiple-line clue? Simply use the $newline$ character on the clue.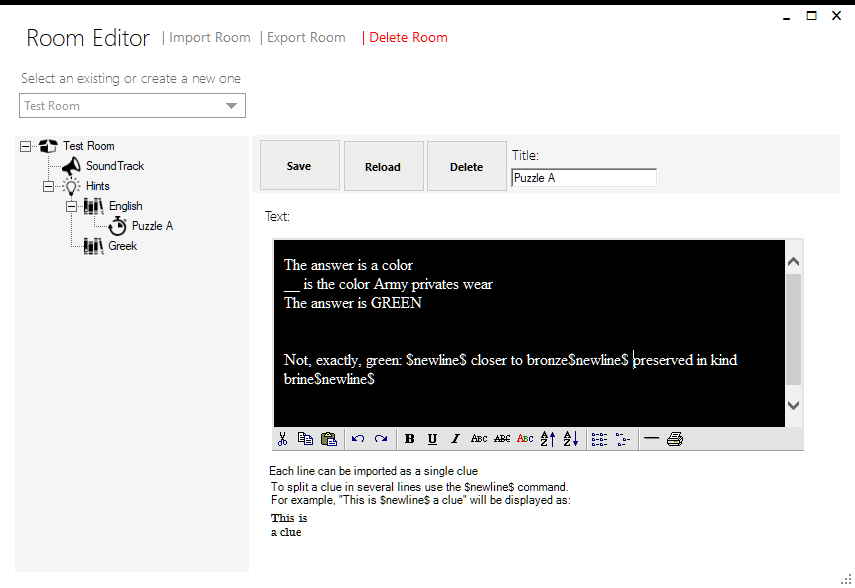
Important Note: If you face unexpected formatting issues, kindly refer to our FAQ section. - Step 8: Click on language (e.g., “English”) and select to add more text clues. Repeat the procedure described in Step 7.
- Step 9: Now select to create a “New image clue“. Similar to text clues, the new clue appears on the left side of the screen, under the specific language branch. Select a title for the clue and load an image. Please note that you also can attach a text phrase with the image. This will produce a hybrid clue since it will simultaneously display both the image and the text clue on the in-room screen!.
Always remember to press “Save.“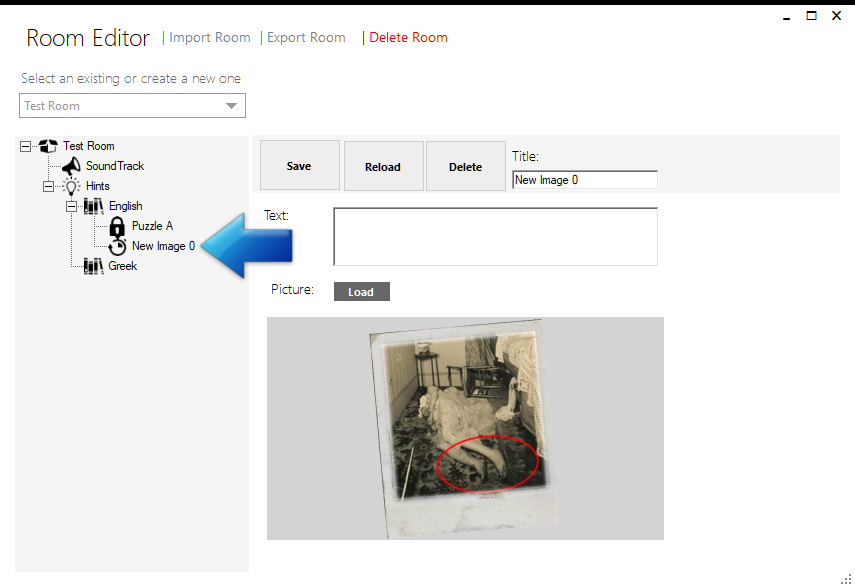
- Step 10: Audio and video clues behave similarly to the image clues.
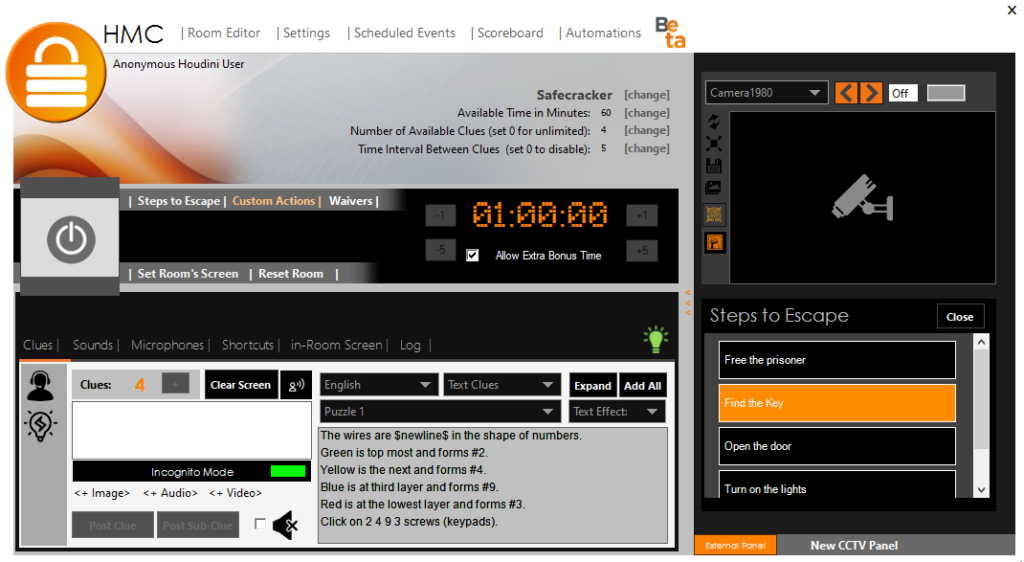
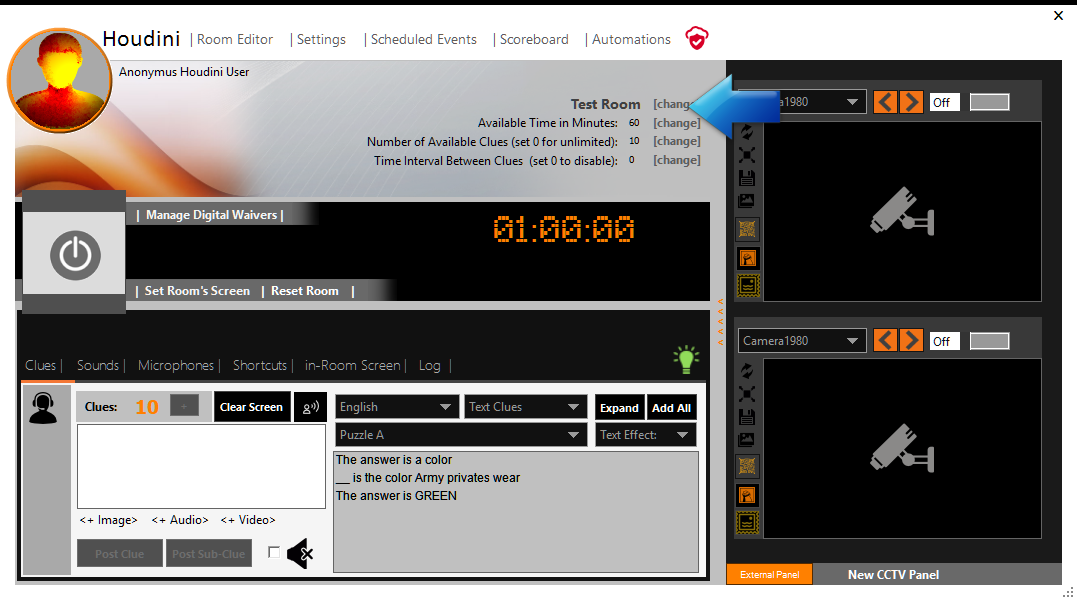
In general, click on Languages, select the type of the clue and add it. After completing the procedure, close the room editor and load the newly produced room. Click on [change] (kindly refer to the following image), select the room, and press the “Enter” key.
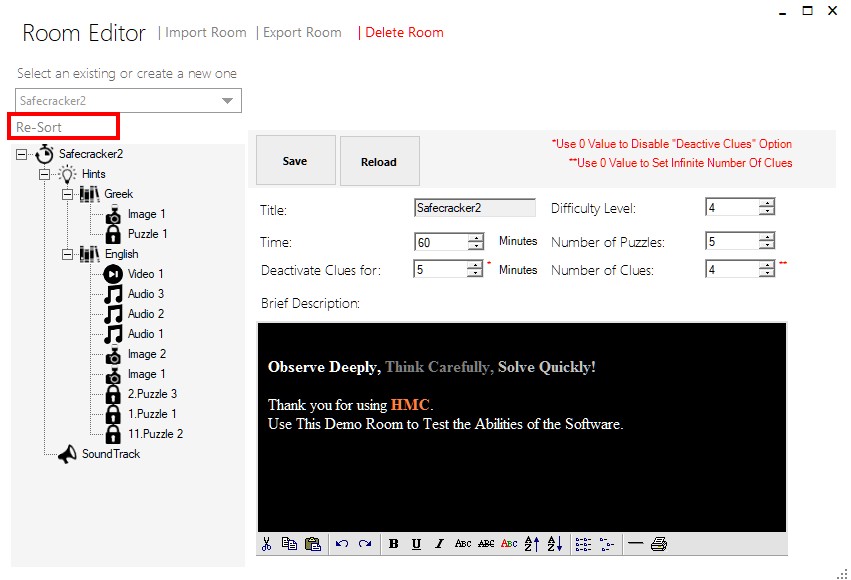
Important: To keep your clues sorted, use the “1.”, “2.”, “3.” etc. prefixes before each clue. To resort to the clues, click on the <Resort> link label.
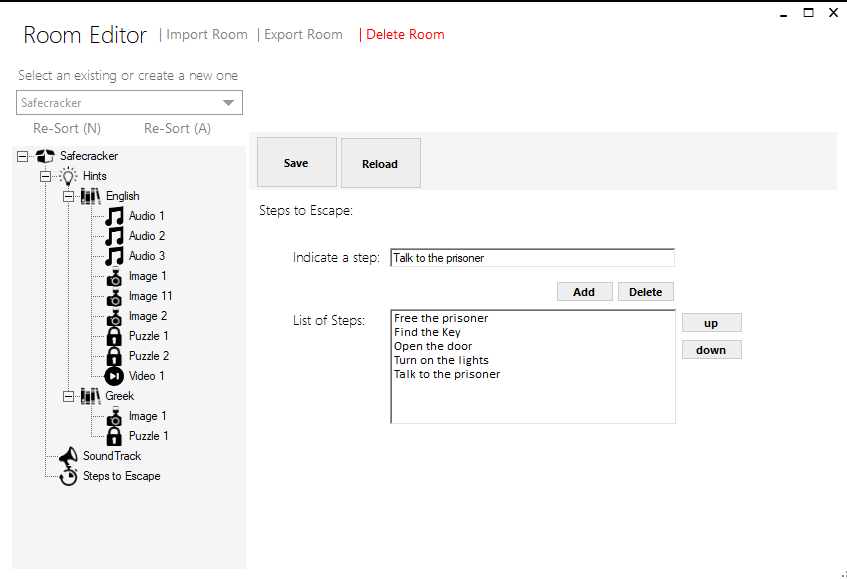
Starting from ver 1.85B, HMB allows you to create a list of the game tasks to help your game-masters better monitor the game’s progress. You can use this list to track the completed tasks or even the used clues. Use the room editor to add these steps and the central console to monitor them. Click on the “Steps to Escape” option on the Room Editor and add your ToDo list.
On the main console, click on the “Steps to Escape” label to display this list.